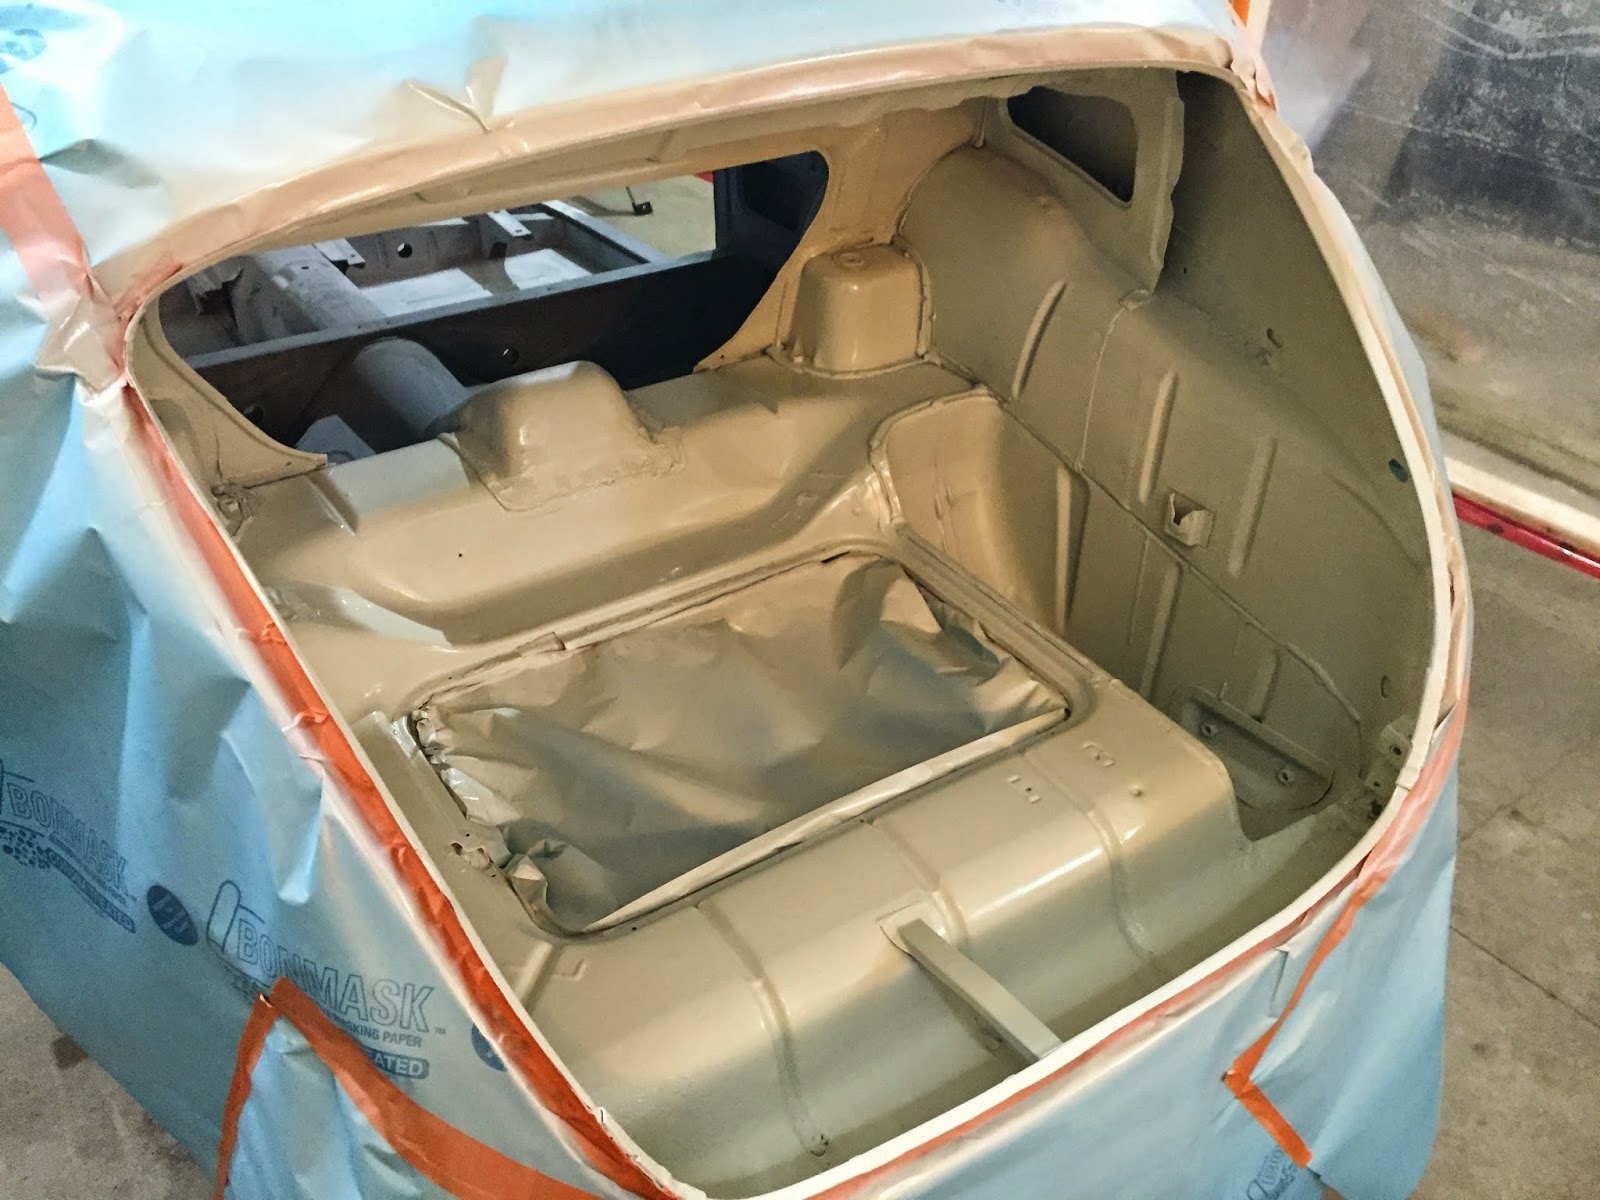
With the dust settled on painting it's time to start putting it all back together. Even though all parts and pieces were cataloged during disassembly there is still a lot of searching for the right nut, bolt, washer or widget that takes a lot more time than just grabbing it and putting it together. Along with that there is still a lot of restoration to do. Small parts that were just thrown in a bag as the car was coming apart need to be cleaned up, reconditioned and inspected to make sure they will still work. There is a lot of work ahead...


The brake drums for this car are available, but very expensive and need to be shipped from Europe. I did some sleuthing on the internet and found that the brake drum from a 1996 Ford Ranger Pickup should fit if the center hole is machined out. Worth a shot since the price difference is about $200 a drum.
Here's the old drum removed from the hub

Here's the hub, freed from it's old brake drum

Test fitting the Ranger drum (left) compared to the old set up.


Ready to brake!

Putting the front suspension back together took a long time - Almost of month of evenings and weekends. Lots and lots of worn out parts that did not fit together and a lot of restoration required


Old fashioned Kingpin front suspension arm being fitted and reamed with new pins and bushings


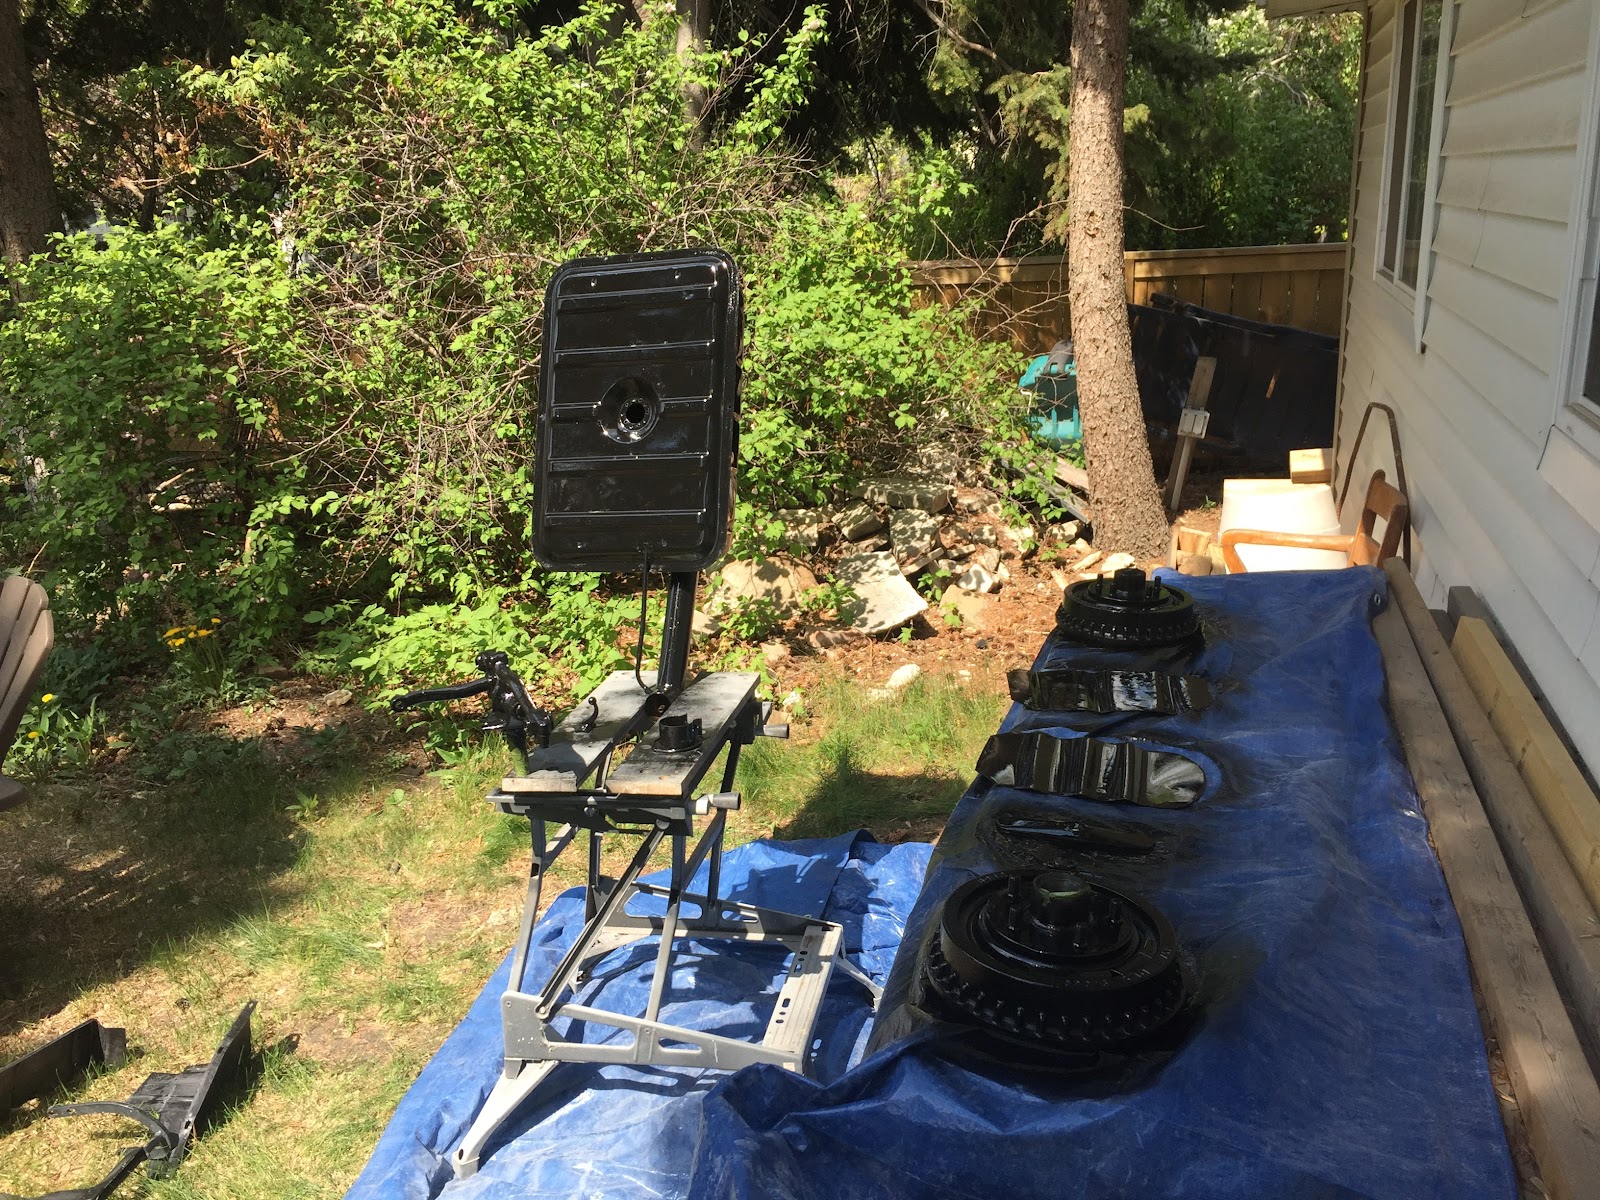
More parts painting - At least it's nice out and this can be done outside


On the other hand the rear suspension took only a few hours to put in