Saturday, December 28, 2013

Working on the fenders

Front and rear fenders on this car were a particular challenge. Somewhere along the way a previous owner or body shop, had brazed the fenders directly on to the car rather than using the bolt-on and gasket system Volvo originally intended.  Three of the fenders were in what I would consider to be "repairable' shape, though anyone with access to reproduction panels would have thrown them all away.  There are repro panels available, but at between $500 to $1000 per corner plus shipping from Europe it's out of range for me.  I did manage to pick up a very nice used front passenger side fender for a good price from Vintage Import Parts so that helped a lot.

Starting with the rear driver's side.  This fender confounded me and I worked on it on and off (mostly off) for almost 3 months. The whole front edge of it had to be rebuilt.  I learned a lot...


Right rear fender was quite a bit easier, but still needed some fairly major work.


I almost gave up on the left front fender.  I thought about calling Olof and seeing if he had another used one, but I didn't want to give up on it too easily.  Major reconstruction was required along the entire rear edge of the fender along with rust damage around the headlight area and along where the trim strip is attached on the side.  In the end I was pretty happy with how it turned out. Not too bad for an amateur.  I didn't get the patch around the headlight opening in quite right, but a headlight and all the associated trim will cover the ugliness up, and it should look just as good as it's almost perfect condition right side counterpart.

Before:  Really bad shape.


 Note all the brass filler rod used to make a really ugly patch at some distant point in the past.

Repairs underway:


 All patched up and ready for a thin skim of filler:


By comparison, the right side front was a breeze.  Only one small patch to cover the hole for the radio antenna and some rust that built up there.


--- and off to primer...  Blocking to follow...


 Note the barn ventilation fan to pull the fumes out of the garage. 


Sunday, September 15, 2013

On to the body work...

In August I got back the four fenders, hood, trunk lid, doors and the nose piece for the car from my media blaster.  All were in need of further repairs, some worse than others.  I'll let the photos do the talking.  The process took on and off about 4 months to get the parts into base primer, working at my pace which is basically get to it as I can.  Usually not more than 10 hours a week.

The hood was pretty straightforward. There was some hammer and dolly work to do to get what looked like hail damage smoothed out a bit, but overall I think it came out ok. 


 Primed and ready to block.
The trunk lid was really easy, no major damage or rust of any kind.  So easy in fact I forgot to take any pictures of it. :(

Passenger door was in pretty good shape. A shame really because I have two more passenger doors in storage in my attic. Here are some shots of me trying to smooth the filler out using a bit of guide coat.


 Driver's door was a bit more work.

A hole/dent along the bottom side of the window opening that required welding a patch, and reconstruction of a rusted out weatherstripping channel.  To repair the channel I cut a chunk of it out of one of the spare doors I have in the attic, re-shaped it to make it fit and welded it back on.  A bit of a hack job (I am not a pro...) but should be fully serviceable.


 Patch tacked in


 Donor door for the rubber channel.
 The driver's door after the new channel was grafted in

 All the channel areas got a coat of POR15 followed by a tie-coat of etching primer to help keep any rust the blasting did not get at bay.
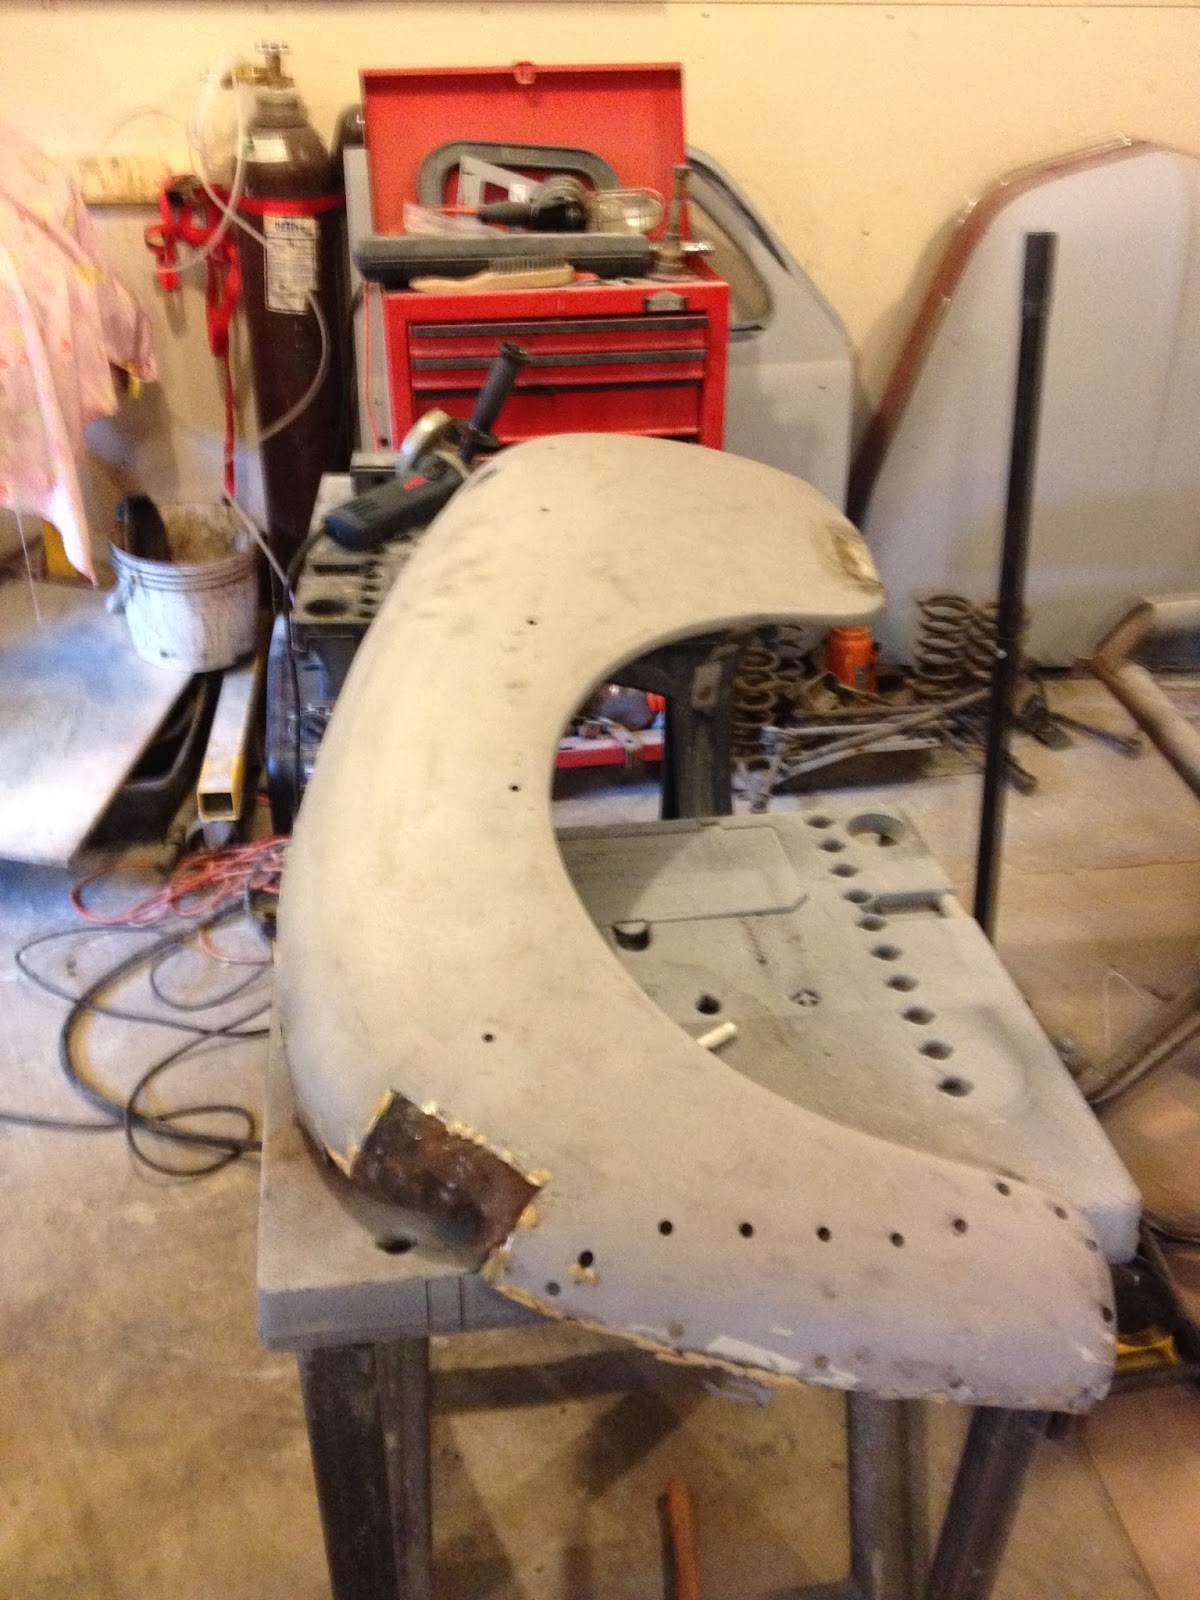
The nose piece which holds the rad, supports the front bumper, holds the grille and supports both front fenders is a critical and tricky piece to work on. Some patching of rotted metal was required, and was my first real challenge in fabricating.  I think it turned out ok.  Through the process the important thing was to keep test fitting the fenders on to the nose so that (hopefully) it all fits together properly.